This decal is black and red ink printed on white vinyl and contour cut around the edges.
NickerStickers Decals are Easy to Apply!Whether you've never, ever applied a decal before or are an old pro, NickerStickers go on smooth and easy and stick very well.
Before you start, WASH THE SURFACE!
Don't Use Window Cleaner!
We recommend you use plain old soap and water, 1/3 cup soap to 1 cup water. If there is any wax build up, use a scrubby. Finish with a lint free cloth to dry. You can add additional touch of extra cleaning with rubbing alcohol, mixed half and half with water. But soap and water is usually good enough.
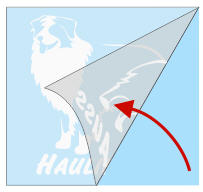
Step 1. Peel the transfer tape with the decal stuck to it away from the waxy backing paper. The adhesive side of your decal is now exposed. Be careful! Don't get it dirty and don't touch it with your fingers. Use the clear transfer tape to hold because you'll be taking that off later anyway.

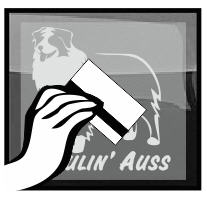
Step 2. Using the transfer tape, roll your decal on to the surface to which you are applying, starting at one corner and laying it down. Once it is on the surface, rub on top of the clear transfer tape and decal using a credit card and working from the center out. Press lightly at first, then repeat more firmly. Repeat several times.

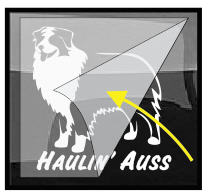
Step 3. REMOVE THE TRANSFER TAPE. The decal is under the transfer tape. Pull the transfer tape up at a sharp angle beginning at one corner. Remove the clear tape on top of the decal and throw it away. Your decal should easily stick to the surface while you are pulling up the transfer tape. If it's not sticking solid, try leaving it on overnight and taking it off the next day.

For more information on decal application, including applying large decals,
video instruction, and trouble shooting, click here:
